This is our final post on SRM Upgrade series. In this post we will go through upgrade process for Site Recovery Manager (SRM) from version 6.0 to 6.1, in previous post we completed vSphere Replication upgrade from version 6.0 to 6.1
Complete series is below.
SRM Upgrade Part 1 – vSphere Replication Upgrade 6.0
SRM Upgrade Part 2 – Site Recovery Manager Upgrade 6.0
SRM Upgrade Part 3– vSphere Replication Upgrade 6.1
SRM Upgrade Part 4 – Site Recovery Manager Upgrade 6.1
Prerequisites and best practices:
- Check the compatibility matrix here for other VMware products
- vSphere replication appliance is upgraded to supported version, in our case 6.1
- Platform Services Controller and vCenter Server on both sites are on same version. You cannot mix Site Recovery Manager, Platform Services Controller, or vCenter Server versions across sites.
- Use fully qualified domain names (FQDN) whenever possible rather than IP addresses
- Obtain the address of the Platform Services Controller instance for both sites. The Platform Services Controller must be running and accessible during Site Recovery Manager Installation.
- Obtain the vCenter Single Sign-On administrator user name and password for both of the local and remote sites
- Synchronize the clock settings of the systems on which Platform Services Controller, vCenter Server, and Site Recovery Manager Server run
- Obtain the user name and password for the Site Recovery Manager database
- Backup both sites SRM databases and if possible take snapshots on SRM VMs
Source: VMware SRM Installation/Upgrade guide
Once you complete the pre-requisites you can proceed steps below. Upgrading SRM to 6.1 is very much similar to upgrading it to 6.0 version.
Steps:
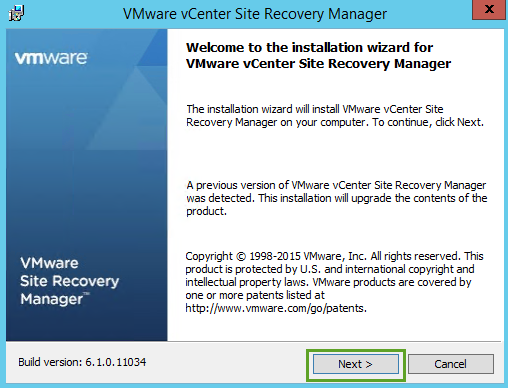
- Login to Production site SRM server and run the installer

- Click Next
- Click Next

- Accept the agreement and click Next

- Click Next

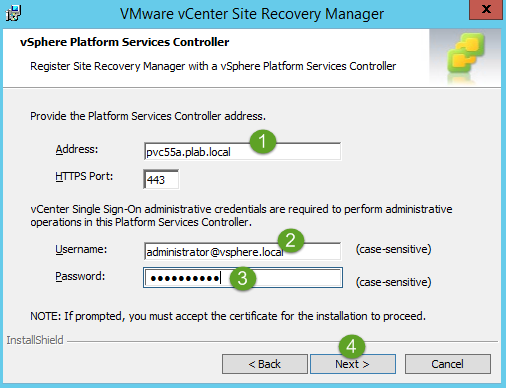
- Enter PSC address and SSO credentials and click Next
- Accept the certificate warnings

- vCenter address is auto populated and the field is grayed out, click Next

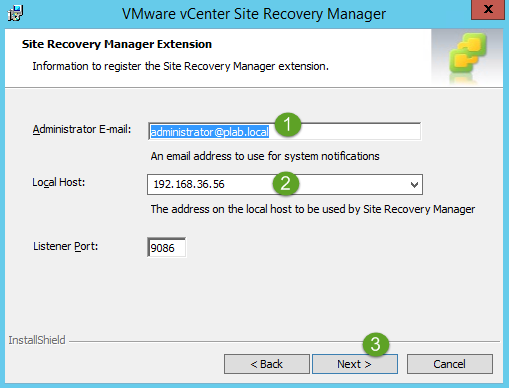
- Enter email address and Local Host address (Auto populated IP address of host) and click Next
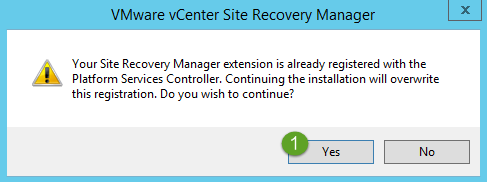
- Install detects existing SRM extension and prompts to overwrite, Click Yes
11. Choose “Use existing certificate” and click Next

- SRM will auto detect the DSN and prompt for User and password for database. Enter appropriate details and click Next

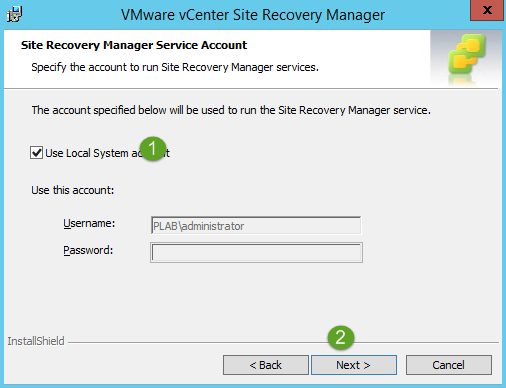
- As we were using SQL account for database access and no special service account was available run SRM server, choose the Local System Account for service to run under. Click Next
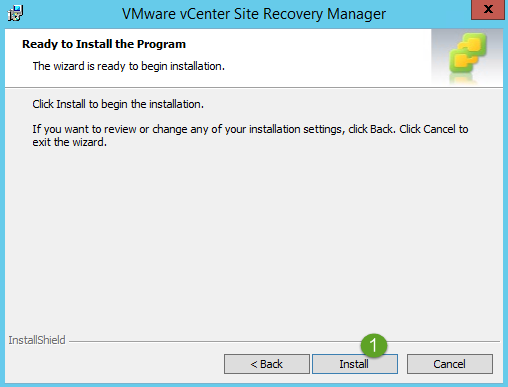
- Click on Install
- After sometime you should get Finish screen

At this stage production site Site Recovery Manager has been upgraded to 6.1. Follow the same steps for Recovery/Secondary site upgrade. Once recovery site SRM is upgraded follow below process to reconfigure sites
(Re)Pairing sites
- Login to Web client with SSO admin. You should see icon for SRM on home page, if you don’t see the icon, restart the Web client services and clear browser cache

- Select the vCenter name in Objects view and click on Actions->Reconfigure Pairing

- Enter Remote site PSC address and Click Next

- Select Center Extension and enter SSO credentials for remote vCenter, click OK

- Accept the certificate warnings, Click Yes

- After pairing successful you should see both your sites now.

- Click on remote site, and enter remote site credentials

- Verify all your recovery plans, protections groups are intact


- To verify I ran one of the recovery plan in TEST mode and it worked like charm

Site recovery manager has been successfully been upgraded to 6.1
This post was the final part on our Site Recovery Manager upgrade from 5.5 to 6.1, if you have any comments, questions kindly post in comments.

3 thoughts on “SRM Upgrade Part 4 – Site Recovery Manager Upgrade 6.1”